zaterdag 2 maart 2013

First building week

First week of actual building, first week of finding many challenges... The first day I started cutting, sawing and filing down plates for the hinge joints for the elbow of the wing. Just getting things straight and neat and lining up nicely is already a challenge.


Most of the week I spent finding a solution to drill the ball bearings, and that was the start of weeks full of problem solving... From my research I had read about simple methods using plates with holes to clamp the ball bearings. I could not get that working. I talked with Ryan from fabrication about possible solutions and we came to making something similar to the tool in the existing 'kit', but a bit more simplified: two thick metal plates which have a sockets where the ball sits in and is clamped in between, with a through-going hole the size of the rod that should fit in later in the middle to place the drill bit at the right place when drilling. The two plates should be clamped together and then clamped in a vice.

First thing to be done was learning to use the plasma cutter. I would use this to cut squares from the thick steel plates. It took some practice to get used to the round flying sparks and limited sight (from wearing the mask) but in the end I had two squares cut off. I could still makes the edges straighter and smoother using the belt sander. After finishing the first version of this tool I found out I had made many mistakes...  First of all it wasn't a good idea trying to make the clamping plates suitable for both sizes steel balls. No way I would get both clamped with equal force... Second, I found out after drilling the first ball that I had not been able to get the hole for the drill bit in the centre. Third, after drilling the second ball, I found that the ball had moved while drilling and so the hole was messed up. Now I realized that I had made a crucial mistake here: I had actually created a little box for my steel balls instead of a clamp, as they were fitting in perfectly, and therefore were not being clamped... Ok, next try.

After talking with Paul (staff in fabrication centre) we came to a solution of using a series of drills for the centering problem. In this way I could drill the small hole for the drill bit first, then fit a slightly bigger drill on there to drill only slightly. Then one size bigger, another size bigger, etc. Until ending with the size needed for the ball bearing to fit, but only drilling the hole slightly, checking all the time if the ball would fit but still be clamped between the two plates. 
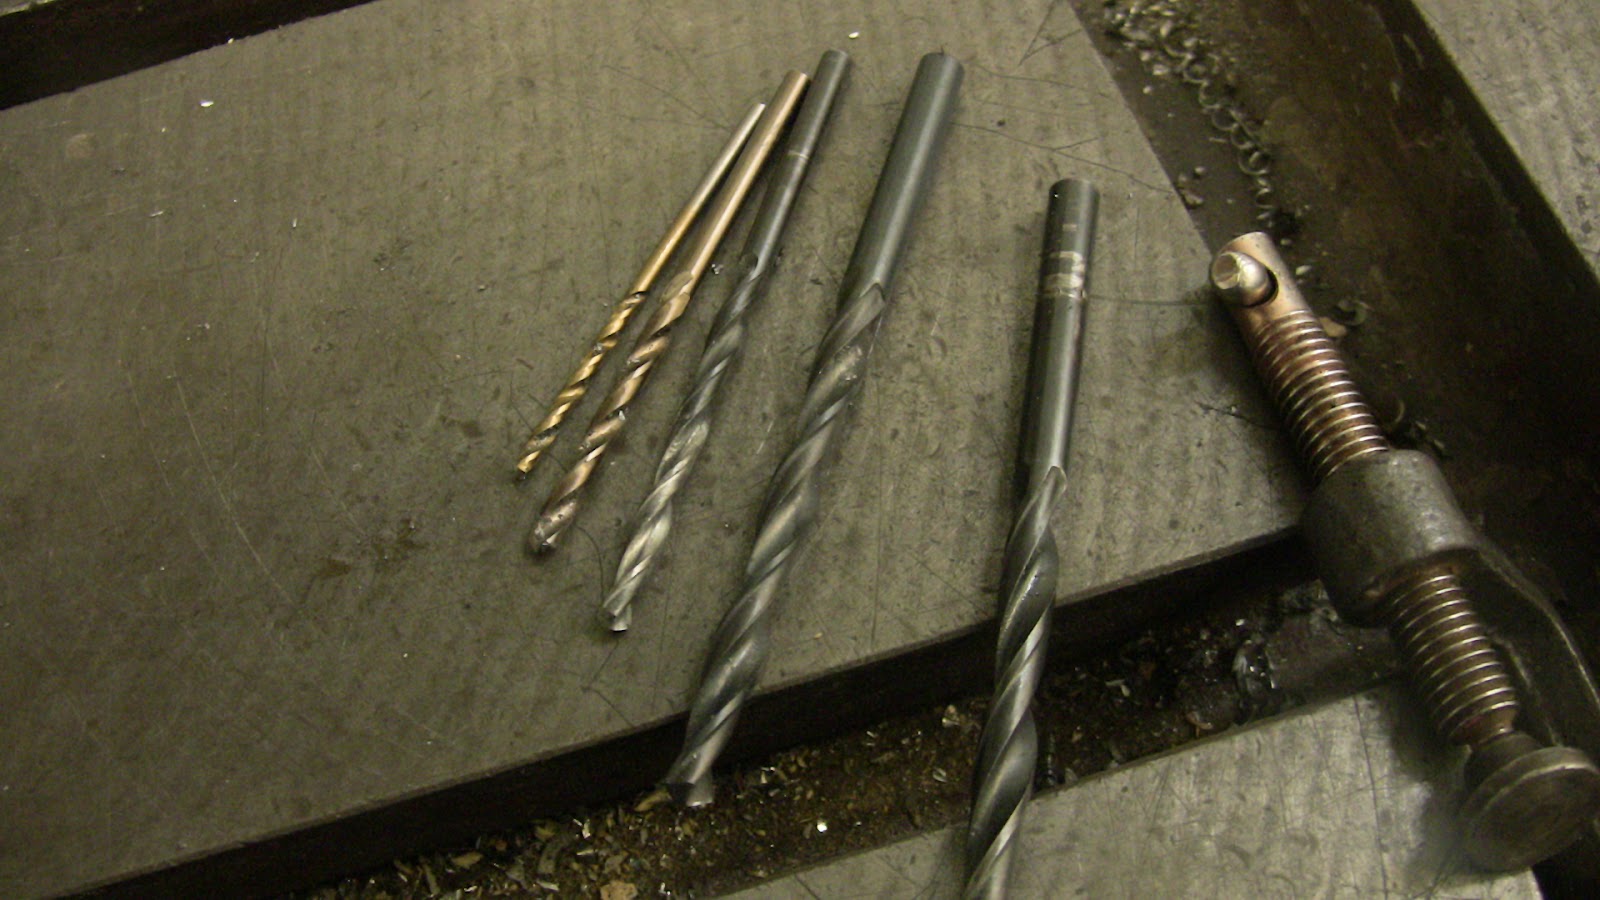


This time my confidence using the plasma cutter had improved and this time I cut four plates to be making two seperate clamps for the different sized balls. This time the clamp was a success and thursday afternoon I got 17 balls drilled. These were the bigger, already annealed ball bearings. On friday I tried if I could anneal the smaller steel balls I had with a brazing torch but that was no success. Another thing to research more about.


Finally on friday I had a signup session with Mary and got some good feedback and advice on methods for soldering ball bearings onto rods, and about how a heavy armature will affect the ease of animating it. The heavier the armature, the tighter the joints have to be in order to stay in position, which means fighting the armature more while animating it. Something to consider especially for my wing design, which could work out to be quite heavy...


zondag 24 februari 2013

Exeter model making course

In week 5 I made some more changes to the scale drawing and prepared to start building. On Tuesday I had a first go getting familiar again with the machines in the fabrication centre and drilling some ball bearings with the 'kit' for ball and socket armature making that was there, developed by someone not working there anymore. I figured out that I could not use this kit for the smaller holes I wanted to drill, neither for the smaller ball bearings I wanted to use. So I knew I would have to make a tool myself.

Most week I've been in Exeter for a three day model making course, leaded by model maker Gill Bliss from Aardman. Below are some pictures from the work I've been doing at the course (I'm looking really angry, let's call it concentration...).


Each day we had separate assignments. The first day was about research and designing on paper, then transferring the 2D design into a 3D clay maquette. I choose to follow up on the bird character in the hope it could give me some fresh ideas for the design, but this may not have been the best choice for the course. I learned that I would have to let go of what had been in my head all time for these three days to make most from the course. Still it did give me the opportunity to sculpt a more detailed version of a possible head design. See picture below for a close-up of the final sculpt.

The second day was about making a full figure that was half maquette, but should have 2 moving parts. I choose to work not work from my own design this time and tried sculpting/building from the sketches for a tiger inspired character from Andy. It was a useful exercise to try and interpret the 2D design of someone else, not having any more information then what is to be seen in the drawings.

I had a portfolio session this day as well. I got some really good advice on naming of skills on my cv and the organizing of work on my model making page of my portfolio. I definitely want to spend some time soon improving my portfolio and cv from the given advice.

Last day of the course we worked on wire armatures with replaceable parts. To make the exercise most useful I decided to work closely from female proportions, as my latest puppets were all male characters. I'd like to finish the armature another time and possibly skin it and give it some tests, trying to give it some female character in the animation as well. We also talked about job roles and careers in model making and watched a behind the scenes documentary on Aardman. Especially a lot of the talking and advice in between has been really useful, and it has been good to practice some sculpting and designing again as well, and to be forced to produce something in a given (short) time.

zondag 17 februari 2013

Character design

I felt the need to establish the character more clear. This was actually done some time before the later versions of the scale drawing and wing prototype, but I am mixing some order because I am writing this all later.

Below are some of the sketches I did trying to get a more finalized look of the bird character. The bird is very vulture like, and I'm enhancing the wrinkly neck/head features some of these birds have. I still feel like I'm staying too close to reference images and would like to go a bit more extreme in stylizing, but I'm not sure how to go about this. I don't feel like I'm there yet with the design, but it seems like it would be taking me a lot more time, and as character design is not the area I'm trying to develop now for this project I feel like I need to move on with the technical side.


zaterdag 16 februari 2013

wing prototype


Below some more detailed drawings where I was trying to measure the different parts needed for my wing design (ah, I just see now that there is still some thought written down there about needing many little screws for the attachment of each feather. Something I already rejected as it is probably over complicating things and could just be done with some simpler attachment, like perhaps some not so permanent glue, or even using polymorph around the wire and little plate with hole.).


Below are some pictures of the making of a card, glue and wire prototype of the idea, using the exact measurements as above. I finished mainly the lower arm part as it was enough to test the basic concept. I did cut out the bits for the 'hand' part of the wing as well, but did not put everything together yet. It would be difficult for these parts also as they include ball and socket joints. which I can't make with the card anyway, so the 'prototype' would there end up being more of a maquette and therefore less useful. Movement wise it won't be as sufficient as the 'real' version in metal anyway, mostly because I didn't incorporate screws in this version, so the tension cannot be adjusted. The main things I learned from making this prototype was that the little plates definitely would need rounded edges at the top, to not come in each other way, and also, especially the ones on the side, should be quite narrow or a bit further apart from each other, as they could now not pivot as much as the others, while especially for the outer ones that would be quite important.


Also I discussed this idea with Arril and his opinion was that it was unnecessary complicated for something that is a tool for a film rather then a alone standing machine ready for an exhibition. It made me think and consider what I had done so far again. The story and film is key usually, but I do not have a real story yet here, as it is my aim and project for now to make the character and learn about armature design and ball and socket armature making and improving my skills in all this. I had some doubts about my aims after this talk and while talking later to Tom (fellow student) I tried to form my thoughts clearer. Do I need to have a clearer story? What decisions did I make already about the birds' functioning and performance? It is quite unusual to have a plan for an animation character but not of the exact final project where it would be featuring in. Is this bad? Should I spend time now on developing a story?

scale drawing drawing

I've been spending a lot of time on getting the scale drawing right, and still probably have to re-adjust parts. It is a good way though to visualize and find problems and uncertainties before having built anything. While drawing I found many things I still had questions about. I started looking up bird proportions of wing span vs body length, etc. then referred back to my anatomy drawings and research for the type of joints and sizes and placing of wing feathers, etc. At the same time if brought me further into the questions I still had about making ball and socket armatures and joints, the choices about what sizes and material to use, etc. The first drawing I made I wasn't clear about the position of individual joints, how exactly the holes and screws should be lined up, what sizes the different parts should be, etc. After making the wire prototype wing I had found some issues with the proportions and changed that in the design. I am still considering where exactly the rigging points should come and changed the idea of using k&s for this after discussing with Arril (tutor) to using some method with a simple rod sticking out and a screw system at the end of the rig. After talking with David in the fabrication centre I decided I should scale up most of the joints, or perhaps then the scale of the entire puppet. After seeing the 'ball and socket joint making kit' developed by someone at the university (with several jigs for making one certain size of joint) and after reading carefully through some armature making tutorials I am considering some changes of size, etc again. Ok, that can go into another post later about my further research into armature making.


wing fold test

A little test with the very simple wire & polymorph wing armature I made. It still looks a little odd, I was figuring out what had to happen while doing it and it doesn't move as smooth as a bird would do it probably, but it doesn't look entirely wrong, so I guess I just have to study more birds and do more tests...

I did find in this prototype that it wasn't ideal to have the lower arm part of the wing have 'fixed' feathers, as I couldnt let them fan in with the rest, even if only slightly. Therefore they were sticking out very much sideways, which I think is not right.


Action analysis

I've spent a lot of time looking at birds folding their wings, birds flying, birds taking of and landing (which involves folding their wings). Most of the time though a lot of this folding of wings, and I'm still unsure how exactly it works. It's a pretty complicated mechanism... I got a much better idea though.

The blog I had made last year for my action analysis module came in use now to have another look at my research of birds movement back then. I also looked at some nice high speed slow motion videos on youtube of birds of prey, and downloaded a video of a group of vultures constantly landing and taking off (and fighting with each other) from different angles, which was quite useful to click through frame by frame.

My old action analysis blog on birds in flight: http://howdotheymove.weebly.com/birds-in-flight.html

When a bird folds its wing they move their 'arm' upwards first ('hand' is still pointing downwards), they spread it out, move it upwards, then the 'hand' with primary feathers is folding in and folding underneath the secondary feathers (of arm). The primary feathers really seem to curl around. All feathers are 'squashed' more together. I first thought that the secondary feathers would be quite fixed, but they seem to also fan in a little.

I found the following document about drawing birds quite helpful, especially for the section that covered the different layers of feather + how they behave when folding the wing. http://majnouna.deviantart.com/art/Drawing-Birds-part-1-22106533

Below are some very pretty drawings... I made while watching slow motion videos of birds, to figure out what they were doing with their wings while folding. them It is not entirely clear, as it wasn't entirely clear to me yet either...


Next is a break down of some fragments of the video I downloaded to study wings folding. It was helpful seeing them from different angles.