vrijdag 29 maart 2013

Building week 5 - a short week...

This week for building went really quick. I was a bit distracted from the work as I had to move out my house by Wednesday morning and still had not found a place to live on Monday. So I took Monday off for finding a place and left a bit earlier on Tuesday to move all my stuff that night.
Tuesday I mainly cleaned up the armature further, cutting off the screws shorter and then started with the parts for the middle body part (chest, hips, etc. access points for shoulders, neck, legs, tail). After briefly talking to Arril on friday about the wing finished so far and testing and reviewing it myself (no proper animation test yet, as I had been occupied with finding a house) I knew that I was actually not satisfied enough with this wing. It still has a lot of issues and can not do all the movements I initially intended for it to do. I felt I needed to let it rest for a bit and have another look at it over Easter and then decide whether I could improve the existing design or would want to make an entire new design.

 So the two days that were left (Friday was bank holiday) I worked on the middle body parts. I thought it would be a good idea after the new experience so far building the wing and noticing problems after building, to review the scale drawing once more and see if I could spot any more problems beforehand this time. Indeed, I did find another problem. Looking at my design for the hip joints I saw that the angle wouldn't be right. I had designed the hip block to be straight with the legs sticking out at the sides. This would mean that when in flying position the legs can point down easily as well, but moving back and forward would be limited using this positioning. If I would turn the joint a quarter I would get better back and forward movement, but the legs wouldn't be able to point down entirely.*

So I quickly sketched a new idea, which was to use a single bar of metal that is bent at both sides, and have single ball joints attached from here, so they can be positioned in a more ideal angle to allow for the movement they need to be able to make. If the drawing makes it any clearer...

quick sketch


The work of this week + the wing


*edit: Now later I'm noticing that I overlooked a much simpler solution for this. As I could just have the rod that is sticking out as upper leg bone to be bent in an angle at the top, in which way it can still benefit from the full turning around that is possible with the ball joint without the joint plates getting in the way...

zondag 24 maart 2013

Building week 4 - first wing finished

Over the weekend I tried the suggestion with the leather strip to even out the friction over all the separate pivoting feathers. I'm quite happy with how it works.


Then, the rest of the week I spent filing things down, rounding off edges, and assembling the new hinge joint for the upper arm/elbow. A lot of silver soldering this week, as so far all parts had still been loose and only attached where been held by screws. I had to silver solder all the pins in the lower arm part and in the other joints as well. This took some practice.

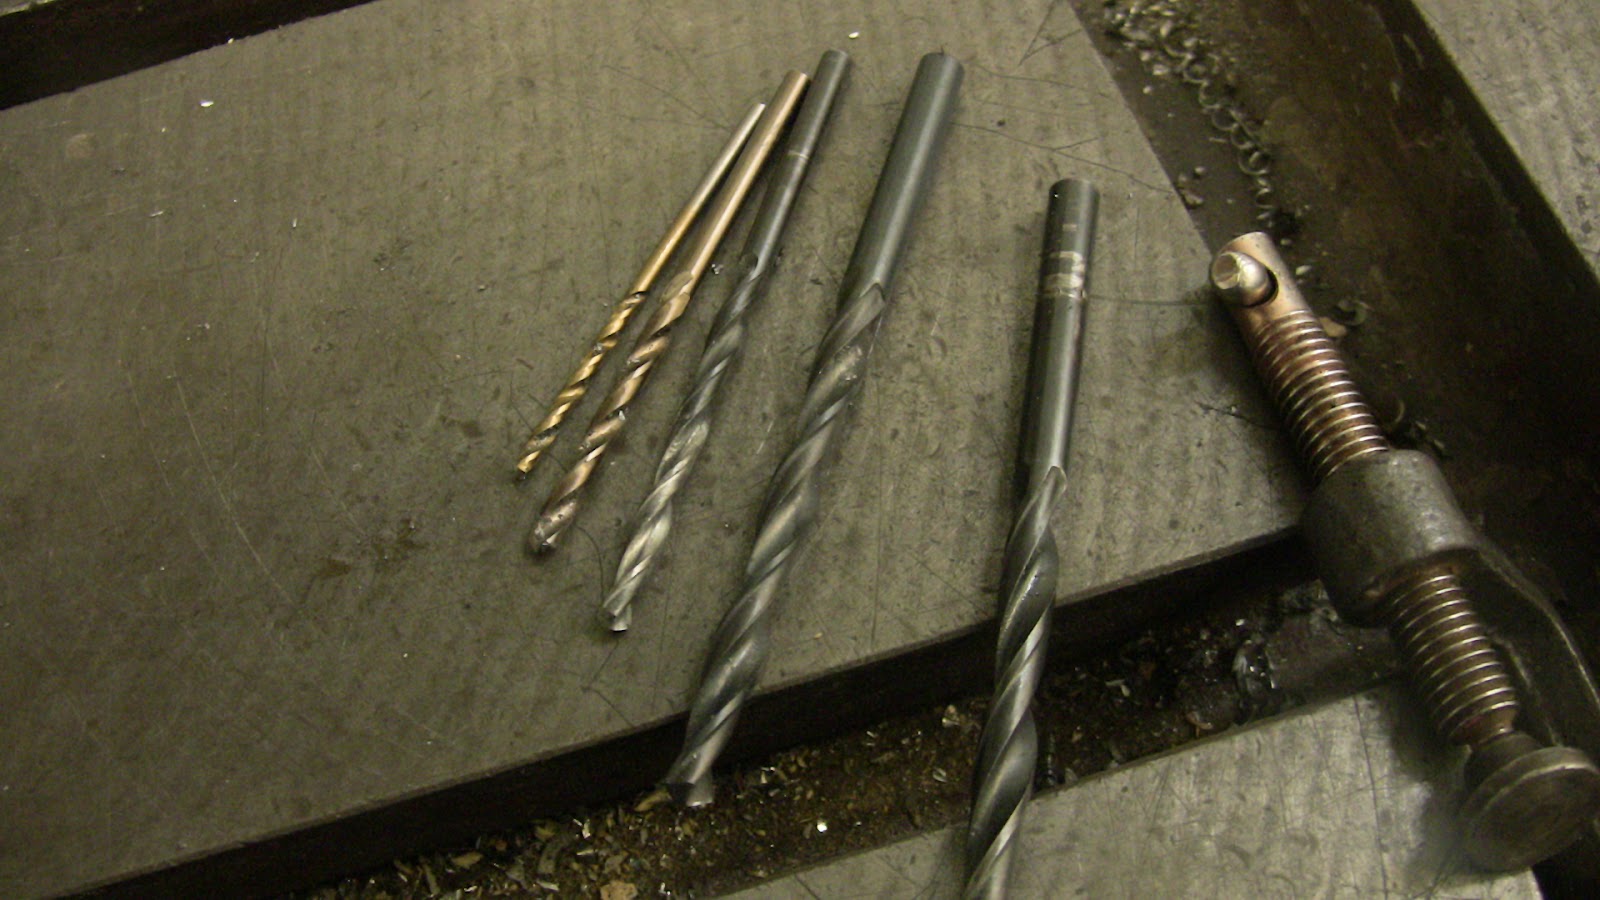
Still needing some more practice...

Some improvement, most pins are fixed now.

It was quite a tedious work: cutting really tiny bits of silver solder to fit in the tiny holes where the pin was pushed halfway through the hole, and let it flow in there exactly to make a bond between the pin and the plate. You can see I had some problems with this in the beginning... I tried after the first efforts if it would work better making longer pins and actually have them sticking out so I could have the silver solder fitting around it instead of just on top, giving more surface area for the bond. But this proved to be only more difficult to get right, so I went back to the first method, which I got working in the end.

Me silver soldering.

I mainly still used the brazing torch for the silver soldering. I tried using the smaller Dremel torch that gets less hot, but because I was often using clay to hold things in place it seemed like this was taking away some of the heat, for which reason I could not get it hot enough with this tool. I could point the Dremel torch on the piece as long and close as I wanted, but just simply nothing would happen... With the brazing torch it is easy to get it too hot, but I just tried to be careful, not pointing it directly onto the piece for too long.

Applying flux where the pins have to be soldered in the holes.

On the picture above you can see the first of the 'finger' joints of the wing. I used clay so I could have the pins in place while soldering. I didn't do this with the part for the lower arm and it turned out that some pins were slightly shifted. This made it impossible to have both parts fitting together. In the end I could solve the problem by making the holes from the plate they had to fit into slightly bigger. This wasn't ideal though, so therefore I decided to do it differently for the other parts and this worked out well. It is not easy working with clay to hold parts, as of course it dries out quickly and in some cases then bursts and flies in all directions (extra reason why it's a good idea to wear safety goggles...). I just had to hope every time that it would hold long enough to allow me to solder the parts together. I couldn't find any other way to hold the pieces together in this small scale. Sometimes it caused the whole thing to get quite messy, as all the clay bits would get onto the part I was soldering... Not the ideal method clearly, but so far it seems to work out.

More soldering after this. The hinge joint had to be soldered together and the balls had to be soldered onto the rods. Even though I had been warned that soldering ball bearings onto rods can be tricky, I found this to be quite easy compared to all the tricky bits of soldering I had been facing so far.

Hinge joint being soldered.

Soldering the ball onto the rod. Finished/cleaned up one in the background.

Picture above shows the soldering of ball bearings onto the rod. I used the method Mary gave me advice on weeks ago: making a circle of silver solder to fit around the rod and let that flow into the hole. Ryan gave me a short demonstration the first time and it all worked out quite well. This was one of the things I preferred to use the smaller Dremel torch for, as it gave me more control over the small thing and allowed me to watch it being closer. Because there was not clay or other complicated constructions to hold the parts together I could get it hot enough with this smaller flame. When possible I choose to solder the ball onto the full length of the rod and then cut it off, so I could just hold the rod or even let it rest against a brick while soldering (but holding it allowed me to turn it around while soldering, making it easier to heat up all sides evenly.

Pretty much all parts are there to be put together now... Just connecting the different joints now where they have to be soldered together...

And there is the result of the first wing, finished on friday... Yay :)


zaterdag 16 maart 2013

Scale drawings

I finally made some pictures of the scale drawings I made. I put them under the line tester with my own camera. It is not ideal quality yet, but gives a better overview then the bits and close ups covered with stuff so far in the pictures. So here they are.

First effort, mainly to figure out the lay out. I had no idea here yet about how exactly to place the holes, how wide to make the joints, etc. so sketched it all just roughly

Next attempt, more accurately, but still some parts I was unclear about, like the shoulder and elbow joint, some other attachment places, and also changed the direction some joints should be facing to get the right range of movement later.

Tried to think through the skinning of the puppet already to some extent, to hopefully avoid facing problems when getting to this stage. Tried to think of where I could logically make access points to get into the skin with Allen keys and just generally how all parts could be connected and skinned and what to consider for this while working on the armature.

This is the more 'final' version of the scale drawing which I used a lot during building. More things have changed already while building, and more will continue to change probably. I'm still using this drawing as a general guide though. I may make a new one with more of the later adjustments at some point.

vrijdag 15 maart 2013

3rd building week - starting to see results!

Finally things are starting to come together this week... I'm starting to get more familiar with the machines and tools and methods of doings things. Putting together the first ball and socket joint, it works quite nicely already! (no rods soldered in yet, parts not cleaned up filed down yet, but still...) I have been working on all the different parts: drilling, cutting, sanding down and cutting tiny pins for my pivoting feather joints. Only found that the tapped holes for were slightly slanted, which makes that the plates don't fit accurately anymore... I was hoping to 'fix' this by making the bigger leading holes a bit wider, but noticed that the difference was too big... I had to remake the part and tap the threaded holes more straight this time.

I found another problem in the design of the wing joints this week as well. I had designed the end joint at the tip of the wing to have a ball joint at one point, with then a plate for the pivoting feather joints going in a corner/rounded edge around it. I found that I was actually over-complicating things unnecessarily here. Of course a joint with a ball on one side and a screw on the other side won't work... the tension of the screw on one side makes the plates to be opening on the other side and not spreading the tension equally. Filling up the gap at the screw side with metal could be a way to reduce this, but would just be a lot of extra work in this case. I could as well just make it a double ball joint and have the last feather - which would be quite an important leading feather anyway - attached to the rod coming from the ball joint. In this way it even increases the range of movement possible with this leading feather and make the design more straight forward...

All parts finished so far, still with the old design for the joint at the tip of the wing.

quickly sketching the new solution.

Next issue. I thought it would be a good idea to make the two plates together first including holes etc. and then cut the top clamping plate in half, to separate the ball joint and pivoting joint part. I found out that it was hard to saw through them neatly, and I was cutting away more then I wanted. So I decided to make the top plates again but now as separate strips, and line them up with the bottom one (I just drilled the middle hole first, to fit the screw through, so that I could clamp them together and then file away where not straight and drill the holes for the ball bearing sockets using the existing holes in the other plate as a guide).


Trying to saw through the plate, then deciding to make new strips.

New strips screwed to the bottom plate, before drilling the other holes through.

Some of this week's work.


I got as far as to putting most parts for the individual joints together. I got the pivoting joints for the individual feathers clamped between the plates. I already had some fear that these would still be giving issues. I would have had to work really neat and precise to get everything really straight and of equal thicknesses in order to have it all working smoothly. Indeed some of the metal strips were looser then others. When talking with Mary on friday she had the suggestion to try adding some sort of fabric/leather strip in between to see if this could help getting more equal friction for all of the metal strips.  I also found out after testing with the first strips that I would have to file away quite a lot at the top around the hole fitting on the pin in order for the strips to move far enough sideways and not get in the way of each other. Still much to improve...

Assembling the lower arm part.

All the parts together so far.


zondag 10 maart 2013

Building week 2 - more mistakes and problem solving

Second week of building was a slow start, as on monday morning I was still travelling back from the Netherlands. I thought then that it could be a good idea to use photoshop to draw some accurate measurements for cutting and drilling the plates, but then I rejected the idea as my lack of experience with photoshop made that it would take me longer just figuring out how to do that effectively that I thought I could as well spend that time drawing it by hand. Tuesday after visual culture I started my first effort at making a hinge joint (for the 'elbow' of the wing). I brazed the parts together but then found out that probably I had heated up the metal too much and softened it. I couldn't get it all as nice and straight lined up as I wanted. I learned that I would have to find better methods of keeping everything in place while brazing. The principle of the joint worked, which is simple enough of course, but clearly it could still be improved a lot... Also I found that I should have left the gap in between the two sandwiching plates longer, so the moving joint part can move in entirely, allowing the wing to fully fold in at this part. The joint was also already getting quite heavy on its own, and remembering the advice about limiting the weight I decided I didn't need the joint to be as wide as this one and made the next effort a bit narrower. This next time I thought it would be good to go for silver soldering instead of brazing, but the stores at the university did not sell the white flux to go with the silver solder so I still had to order this (only later I would find out that it was actually available in the metal centre itself. I thought they only had the blue brazing flux. Anyway...).
More mistakes and learning on wednesday... I had researched on annealing the type of steel of the stainless teel ball bearings and found that I would have to heat it up to 1100 degrees Celsius. I tried this with the enamel ovens in the casting department. The display went black just before reaching the temperature... probably had gone too hot (luckily later it worked again and I hadn't ruined the oven...). I talked with Paul and he could tell me more about annealing and why the methods tried so far didn't work... The process has to be a bit more technical and the metal has to go through a specific cycle of heating up, holding temperature and cooling down in order for it to work right. I hadn't been able to find very specific temperature requirements for the annealing for this specific type of metal so we only had approximate heating and cooling down temperatures. This time used an oven in ceramics which could set a timer overnight. Also, the ball bearings would have to be buried in sand for the heat to be spread equally. So next step was to make a box for the ball bearings to put the sand in to put them in the oven, so I could soften them, to drill them in my tool, to... I can understand why many people rather try to find pre-drilled ball bearings. The only ones I could find were rather expensive. Well, maybe if I can develop a succesful method I should just make loads of them and sell them myself, not such a bad idea...
Anyway, another silly mistake: I accidentally picked up a scrap piece of aluminium instead of steel to drill nice rounds for the bottom and lid of the box. Ok, now I have two nice but useless circles of aluminium... In the end Paul helped with making the box and I continued trying to measure, cut and drill some parts for the wing joints. Still struggling to find a way of doing it accurately. Either needing better tools or just more practice?

Trying to measure things accurately...

More problems to be solved. Keeping plates clamped together that have to be drilled through together, getting strips of metal that have bend while cutting or while separating during drilling (by mistake) straight again... Hopefully at some point more problems will be solved then new ones created so I can actually produce something that functions. At least I'm learning.
Thursday were presentations of the work done so far, which took all day. Friday I could finally get the ball bearings out of their box and see how they'd done. They were still pretty hard to drill through, so could have been better. But at least it was possible now. Just takes some patience.
I made a new attempt measuring up the plates and lining up the holes more precise then in my previous attempt. I made my first attempt at tapping a threaded hole and tapped some more holes over the weekend.

 Drilling

Work so far, drilling tools, not so successful attempts...

And the - not so successful yet - first attempt at making a hinge joint.


zaterdag 2 maart 2013

First building week

First week of actual building, first week of finding many challenges... The first day I started cutting, sawing and filing down plates for the hinge joints for the elbow of the wing. Just getting things straight and neat and lining up nicely is already a challenge.


Most of the week I spent finding a solution to drill the ball bearings, and that was the start of weeks full of problem solving... From my research I had read about simple methods using plates with holes to clamp the ball bearings. I could not get that working. I talked with Ryan from fabrication about possible solutions and we came to making something similar to the tool in the existing 'kit', but a bit more simplified: two thick metal plates which have a sockets where the ball sits in and is clamped in between, with a through-going hole the size of the rod that should fit in later in the middle to place the drill bit at the right place when drilling. The two plates should be clamped together and then clamped in a vice.

First thing to be done was learning to use the plasma cutter. I would use this to cut squares from the thick steel plates. It took some practice to get used to the round flying sparks and limited sight (from wearing the mask) but in the end I had two squares cut off. I could still makes the edges straighter and smoother using the belt sander. After finishing the first version of this tool I found out I had made many mistakes...  First of all it wasn't a good idea trying to make the clamping plates suitable for both sizes steel balls. No way I would get both clamped with equal force... Second, I found out after drilling the first ball that I had not been able to get the hole for the drill bit in the centre. Third, after drilling the second ball, I found that the ball had moved while drilling and so the hole was messed up. Now I realized that I had made a crucial mistake here: I had actually created a little box for my steel balls instead of a clamp, as they were fitting in perfectly, and therefore were not being clamped... Ok, next try.

After talking with Paul (staff in fabrication centre) we came to a solution of using a series of drills for the centering problem. In this way I could drill the small hole for the drill bit first, then fit a slightly bigger drill on there to drill only slightly. Then one size bigger, another size bigger, etc. Until ending with the size needed for the ball bearing to fit, but only drilling the hole slightly, checking all the time if the ball would fit but still be clamped between the two plates. 


This time my confidence using the plasma cutter had improved and this time I cut four plates to be making two seperate clamps for the different sized balls. This time the clamp was a success and thursday afternoon I got 17 balls drilled. These were the bigger, already annealed ball bearings. On friday I tried if I could anneal the smaller steel balls I had with a brazing torch but that was no success. Another thing to research more about.


Finally on friday I had a signup session with Mary and got some good feedback and advice on methods for soldering ball bearings onto rods, and about how a heavy armature will affect the ease of animating it. The heavier the armature, the tighter the joints have to be in order to stay in position, which means fighting the armature more while animating it. Something to consider especially for my wing design, which could work out to be quite heavy...